Process for creating a Raspberry Pi 4 Over-the-air (OTA) DVR to watch and record TV shows.
These instructions were derived from this blog post: mythtv on Raspberry PI 4 (external site).
Hardware
- CanaKit Raspberry Pi 4 4GB Starter Kit with Case
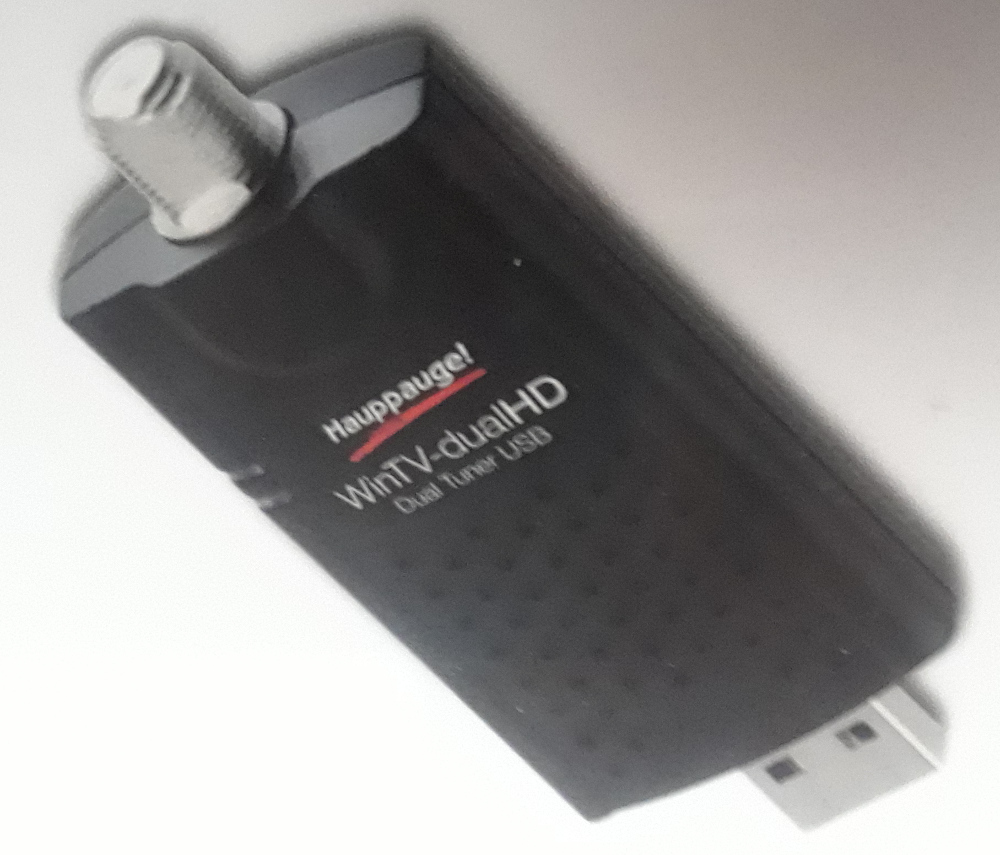
- Hauppauge WinTV-DualHD Dual USB HD TV Tuner
- Samsung T7 Touch Portable SSD 500GB
Software
- Raspberry Pi OS Lite
- MythTV (external site)
- Schedules Direct - program guide listings
Prep Work
- Assemble CanaKit Raspberry Pi 4 kit: includes heat sinks, fan, case, power supply, microSD card with NOOBS bootloader, HDMI Cable
- Attach a wired or wireless keyboard and optionally a mouse (SSH can be configured later)
- Attach external drive, TV tuner, HDMI cable to TV, optionally Ethernet cable if WiFi not available
- Plug the power supply in
Install Raspberry Pi OS
- Install Raspberry Pi OS Lite (32-bit)
- sudo raspi-config - config WiFi, autologin, localization, etc
- Sony TV required setting -50 overscan in all 4 directions; allow overscan
- sudo reboot
Install MythTV
pi-utils are a set of scripts posted by MikeB2013 on GitHub (external site).
- sudo apt install git
- git clone https://github.com/Bamyers99/pi-utils.git
- ./pi-utils/pi-setup_mythtv_31.sh
- default - No
- mythplugins - Yes
- auto start mythfrontend - Yes
- Install mythbackend scripts - Yes
- Enable SSH - Optional, depends on if want remote administration
- temporarily comment out $HOME/run_mythfrontend.sh in .bashrc
- sudo reboot
- ./pi-mythbackend-helper.sh
- sudo reboot
Configure Schedules Direct
- sudo su mythtv ; cd $HOME
- tv_grab_zz_sdjson_sqlite --manage-lineups --config-file $HOME/.mythtv/SD.xmltv
- login after creating an account on Schedules Direct (external site)
- 5: Initialize local database
- tv_grab_zz_sdjson_sqlite --configure --config-file $HOME/.mythtv/SD.xmltv
- yes for lineup to use
- tv_grab_zz_sdjson_sqlite --days 0 --config-file $HOME/.mythtv/SD.xmltv
- tv_grab_zz_sdjson_sqlite --manage-lineups --config-file $HOME/.mythtv/SD.xmltv
- Select Manage database lineup channel selection. Then Choose which channels are selected. n=no
- Switch back to user 'pi' by :exit
Setup MythTV backend
- ./run_mythsetup.sh
- General settings
- Host Address Backend Setup, set Security PIN (required) to 0000
- Program Schedule Downloading Options -> Automatically update program listings -> Guide Data Program execution start/end
- Deselect Run guide data program at time suggested by the grabber
- Capture cards
- New card
- configure new card
- deselect Use DVB Card for Active EIT scan
- configure new card
- New card
- configure new card
- change the DVB Device to the second tuner (adapter1)
- deselect Use DVB Card for Active EIT scan
- configure new card
- New card
- Video sources
- New video source
- configure new source
- change name to SD
- Listings Grabber: Multinational (Schedules Direct JSON web services with SQLite…
- configure new source
- New video source
- Input connections
- Card 1
- Display name: Tuner 1
- Video Source: SD
- Scan for Channels
- Scan
- Insert all
- Card 2
- Display name: Tuner 2
- Video Source: SD
- Card 1
- Channel Editor
- Set unwanted channels to Not visible
- Storage Groups
- Default: /srv/mythtv/recordings
- DB Backups: /srv/mythtv/db_backups
- Exit setup
Setup MythTV frontend
The MythTV frontend can be setup on any computer with WiFi or network connectivity to the Raspberry Pi.
- ./run_mythfrontend.sh
- Setup
- Setup Wizard
- Audio device: ALSA:hdmi:CARD=vc4hdmi0,DEV=0
- Dolby Digital
- 5.1 Channel Audio
- Setup Wizard
- Video
- Playback
- General
- Action on playback exit: Always Prompt (excluding Live TV)
- Current Video Playback Profile
- Standard & OpenL YV12
- Deinterlacer quality (single rate): None
- Deinterlacer quality (double rate): None
- Standard & OpenL YV12
- General
- Playback
To stop frontend exit from turning off the TV use: ./run_mythfrontend.sh -O PowerOffTVOnExit=0
Sony RMT-TX102U CEC Remote Setup
Steps to allow more remote control buttons to control the MythTV frontend.
The Sony TV forwards some button presses to the Raspberry Pi via the HDMI cable using the CEC protocol.
Sony remote button codes can be found in this blog post.
MythTV default key bindings can be found in this blog post.
- frontend Setup
- Edit Keys
- Global -> SELECT -> Add remotes Select button
- Global -> INFO -> Remove binding
- TV Playback -> OSDNAVIGATION -> Add remotes Display button
- TV Playback -> MENUYELLOW -> Remove binding
- TV Playback -> GUIDE -> Add remotes Yellow button
- Edit Keys
- Exit setup
Copy filesystem root to external drive
Copying the filesystem root to the external drive preserves a copy of the installation on the microSD card should the external drive need to be replaced.
- sudo systemctl stop mythtv-backend.service
- sudo ./pi-SDtoHD-helper.sh -d /dev/sda
- cat /mnt/etc/fstab : original root commented out, new root on last line
- cat /boot/cmdline.txt : root= should point to the PARTUUID for the external drive
- sudo reboot
- lsblk : verify that root (/) is mounted on external drive
- Uncomment $HOME/run_mythfrontend.sh in .bashrc
Installing Chromium
- sudo apt-get install xserver-xorg x11-xserver-utils xinit openbox
- sudo apt-get install chromium-browser
- Edit
/etc/xdg/openbox/autostartand add the following
# Disable any form of screen saver / screen blanking / power management
xset s off
xset s noblank
xset -dpms

# Allow quitting the X server with Ctrl-Alt-Backspace
setxkbmap -option terminate:ctrl_alt_bksp

# Start Chromium
chromium-browser
startx --- Ctrl-Alt-Backspace to exit, F11 to toggle fullscreen


Hi Bruce
I'm wondering how you launch Chromium?
My set up is very similar to yours - except I've used full Raspbian OS.
I was hoping to launch Chromium from a MythTv menu item, but:
- Executing chromium-browser directly causes X display errors.
- Using startx fails because of /dev/tty0 permission denied (and exits MythTv gui and takes me back to the console output)
Do you have any hints that could point me in the right direction?
Thanks for documenting your set up and taking the time to read this message.
Regards
Andrew
I launch Chromium from the console with
startx --